

Frequently asked questions
Do you have any questions? Our landscaping experts have the answers! Here are the most frequently asked questions. To find answers to your more product-specific questions, please go directly to the relevant product page, where you’ll find a dedicated FAQ.
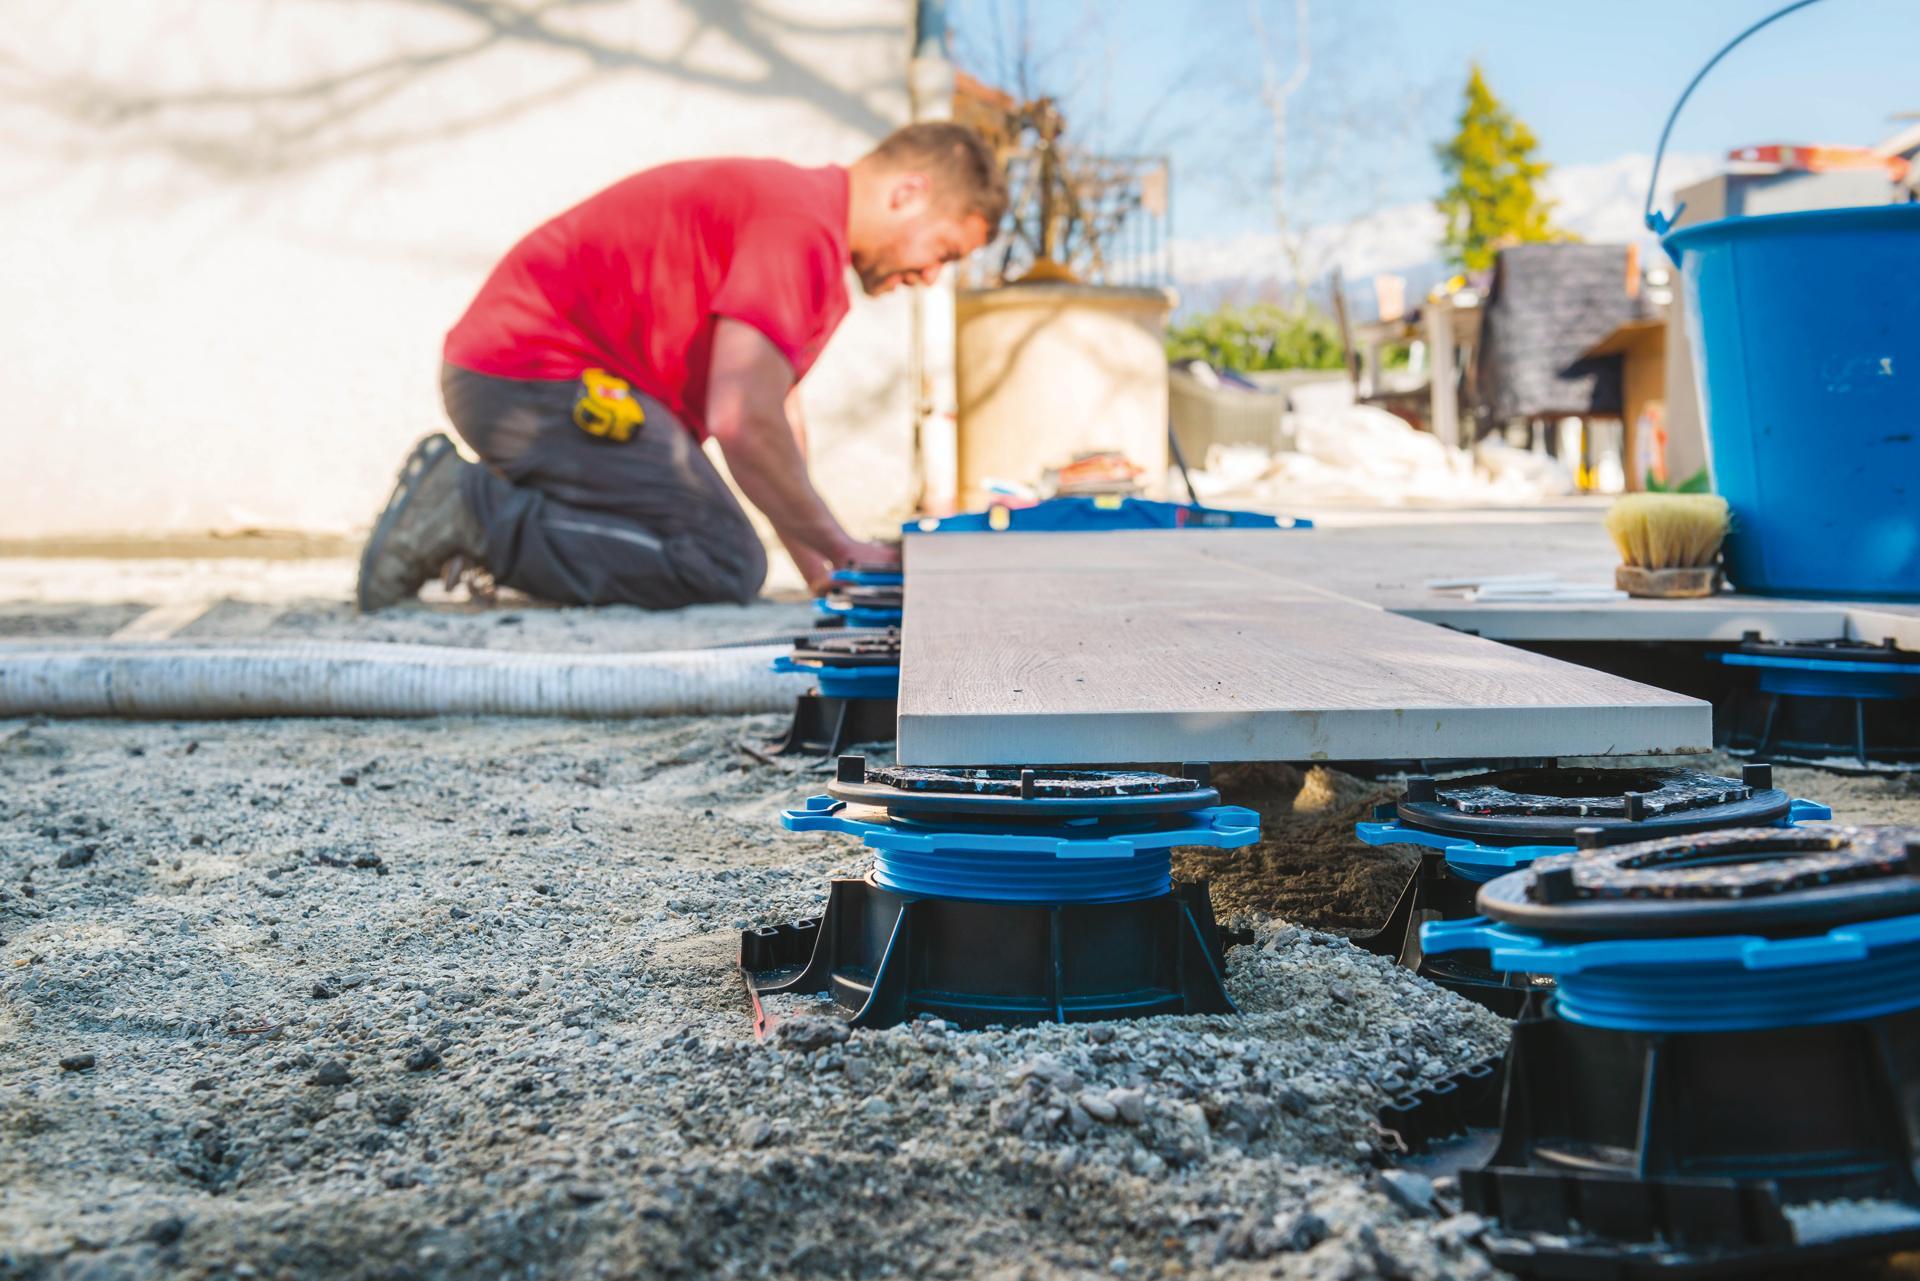
About terraces on riser pedestals
Whether you’re a building professional or an individual looking to improve your outdoor space, we know that installing a terrace adjustable pedestals raises a lot of questions. Riser pedestal offer a practical, flexible and durable solution, but their installation can sometimes seem complex. And yet they’re so easy to use!
Everything about terraces on riser pedestals
1. Why choose patio riser pedestals ?
JOUPLAST® adjustable riser pedestal simplify the installation of decking, whether in slabs, composite, wood or mixed materials. They can be installed quickly without the need for major earthworks. Their adaptability, flexibility and modularity make it easy to change the configuration of the terrace to suit the owner’s tastes and needs.
Made from recycled materials, JOUPLAST® riser pedestals are durable, resistant to temperature variations and crushing, and can withstand heavy loads of up to 1 tonne. Their design includes an ingenious nut system that prevents sagging over time and allows rainwater to drain off efficiently.
Adjustable riser pedestals are practical and save money by reducing construction costs and minimising environmental impact. They can be used on a variety of soil types, whether regular, sloping or uneven, and our self-levelling riser pedestals can compensate for or make up for a slight slope, making installation easy on a variety of terrains.
The space under the terrace on riser pedestals allows cables and pipes to pass through, making it easier to install electrical or plumbing systems without the need for additional work. This also makes it easier to integrate lighting fixtures into your outdoor landscaping project.
In short, JOUPLAST® riser pedestals offer a practical, economical and durable solution for patios, meeting the requirements of both professionals and private individuals.
2. How to prepare the ground for a terrace on riser pedestals ?
Before installing any adjustable riser pedestals, it’s important to stabilise the ground to ensure that your wooden, composite, slab or mixed decking will last for years to come. Whatever the context of the installation, the ground must be flat, levelled and free from any obstacles.
On a concrete slab, be sure to remove any pollution that could interfere with the installation and the stable support of the riser pedestals.
On rough ground, you’ll need to carry out some minor earthworks in a few simple steps. First, you’ll need to dig out the soil so that you can start again from a ground that is properly levelled. Next, it’s essential to install a geotextile and a crushed stone sub-base so that the adjustable riser pedestals can be installed in good conditions.
Visit our document library for installation advice specific to your project.
When laying on waterproofing, comply with DTU 43.1.
3. How much weight can a terrace on riser pedestals support?
Jouplast® studs withstand crushing tests with a load of over 1 T. One tonne is the weight of a giraffe, a baby whale or even a small compact car. However, the weight that a wooden deck or tiled terrace on pedestals support can bear does not depend solely on the strength of the riser pedestals.
Each type of flooring has its own strength. We therefore advise you to ask your flooring supplier for more precise information.
On a more general note, if you are planning to place a heavy element on your terrace, such as a SPA for example, we recommend that you opt for our PROFILDECK® solution (aluminium joists), which will enable you to distribute the weight more evenly over the structure of the terrace.
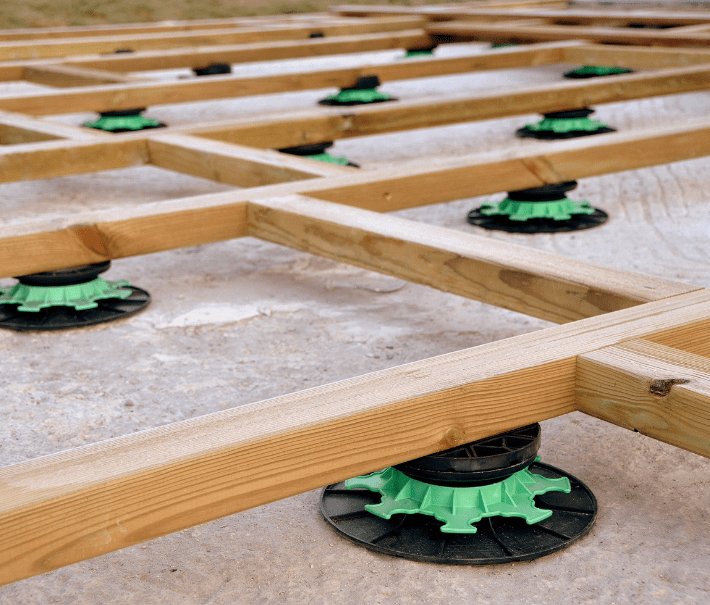
4. Do I need to fix the riser pedestals ?
The advantage of a paved terrace on riser pedestals is that you don’t need any glue or screws to install it. The terrace can be dismantled in no time at all, with no impact on the floor. There’s no need to fix the riser pedestals to the flooring.
However, for wooden decking, the joists need to be fixed to the pdestals so that the whole assembly is secure. The deck boards then need to be fixed to the joists using through-bolts or secret fixings such as Fixego®.
5. How to calculate the number of riser pedestals needed for a terrace?
Before you start working, it’s important to calculate the quantity needed so that you can buy enough adjustable riser pedestals to build your patio.
To calculate the number of adjustable pedestals you’ll need for your terrace, there are several steps to follow:
- First, measure the length and width of the surface of your terrace. Then plan the layout of the pedestals on a sketch, taking into account the recommended spacing according to the chosen flooring.
- Calculate the number of riser pedestals required: to do this, divide the length of your deck by the recommended spacing between the pedestals. Repeat this calculation for the width. Then multiply the number of pedestals in the length direction by the number of pedestals in the width direction to obtain the total number of adjustable pedestals required.
- Round up to the nearest whole number: round the total number of riser pedestals required up to the nearest whole number to ensure optimum stability and allow for spare pedestals.
To find out the recommended spacing between each riser pedestals, depending on the flooring material you’re using, we recommend you to read the relevant installation advice document, directly on the product sheet of the product you’re using. We also encorage you to consult the recommendations of your flooring manufacturer to find out the maximum spacing between riser pedestals for the material used.
To ensure you have the right number of riser pedestals, don’t forget to take into account the edges and corners of your terrace, which may, in some cases, require you to add extra pedestals for extra support and stability.
For more information, don’t hesitate to go to the ‘Documentation’ tab, which gives you access to all our technical data sheets, installation advice, etc. These resources can generally answer all your specific questions.
About the landscaping of grounds and gardens
Whether you’re a landscape professional or an individual gardening enthusiast, our innovative products offer practical and aesthetic solutions for transforming your outdoor spaces.
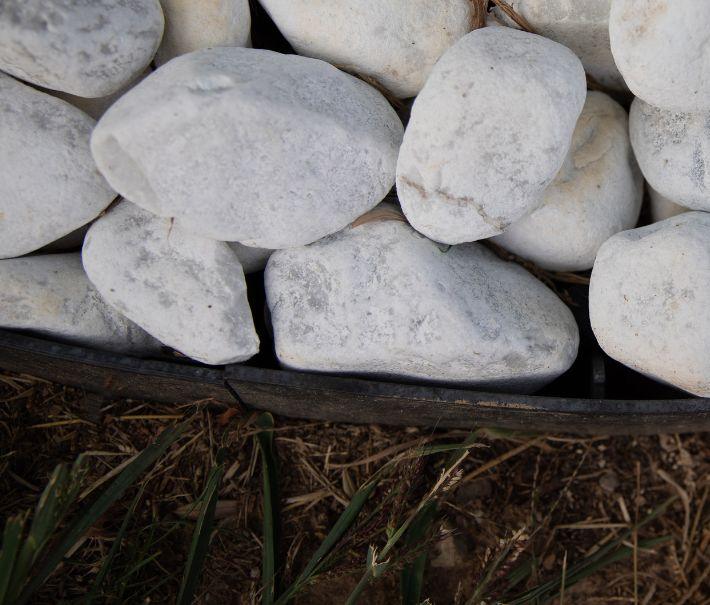
Delima borders make it easy to delineate different areas of your garden, whether lawns, gravel, sand, paving stones or concrete. They are flexible, easy to install and made from recycled materials, guaranteeing durability and respect for the environment.
Modulesca modules offer a modular solution for creating outdoor staircases adapted to all types sites, whether straight or curved. They are easy to install and can be finished with wood, ceramic or paving to blend in perfectly with your landscaping.
In this section, we answer the most frequently asked questions about the use, installation and benefits of these products.
A beautifully tended garden
1. What are the standards for creating an outdoor staircase?
To create a functional and safe outdoor staircase on a raised terrace, for example, you need to follow a few rules:
- Dimensions: maximum height 19cm, minimum tread depth 24cm and minimum width 90cm.
- Slope: the slope must be between 25 and 45° to ensure a safe and pleasant ascent and descent.
2. What measurements should be taken for an outside staircase ?
To build a Modulesca® straight or quarter-turn outdoor staircase, the minimum slope of the ground must be 46% and up to 70%. Outside these 2 slope limits, it is impossible to install our Modulesca® staircase for your landscaping work.
Our Modulesca® step is 93.4cm wide. You can, however, join them side by side to create a wider staircase. It is also 17cm high and 42.4cm deep.
The 20cm module measures 17cm high x 20cm wide and 42.4cm deep.
These two types of steps allow you to create a made-to-measure outdoor staircase.
3. How do you choose the right garden edging for your project?
To choose the right garden edging for your needs, there are a number of criteria to consider:
- Areas to be bordered :
– Flowerbeds: An elegant, discreet border can enhance your planting.
– Walkways: Choose a sturdy border that will stand up to frequent use.
– Lawns: A clean, low border will make mowing and maintenance easier.
– Gravel: A higher kerb can help contain gravel and prevent it from scattering. - Desired aesthetic :
– Modern: Materials such as metal or concrete can add a contemporary touch.
– Rustic: Wood or natural stone blend well with a country-style garden.
– Minimalist: Simple, uncluttered edgings in metal or composite can work well.
– Contemporary: Mix materials for an original, designer effect. - Favourite materials :
– Stone: Durable and attractive, it adds natural charm.
– Metal: Resistant and modern, it can be worked into different shapes.
– Wood: Warm and natural, but requires regular maintenance.
– Composite: Imitating wood or stone, it is resistant and maintenance-free.
– Concrete: Solid and durable, it can be moulded into a variety of shapes.
– Plastic: Affordable and easy to install, it is available in several styles. - Budget :
– Metal, plastic and stone: More expensive, but offer greater longevity.
– Wood: Often more affordable, but can deteriorate more quickly without proper maintenance. - Maintenance :
– Wood and stone: Need regular treatment to prevent deterioration.
– Plastic, composite and metal: More resistant to weather and frost, requiring little maintenance.
Our DELIMA edging can be used for a wide range of projects.
For more information, don’t hesitate to go to the ‘Documentation’ tab, which gives you access to all our technical data sheets, installation advice, etc. These resources are invaluable and can generally answer all your specific questions.
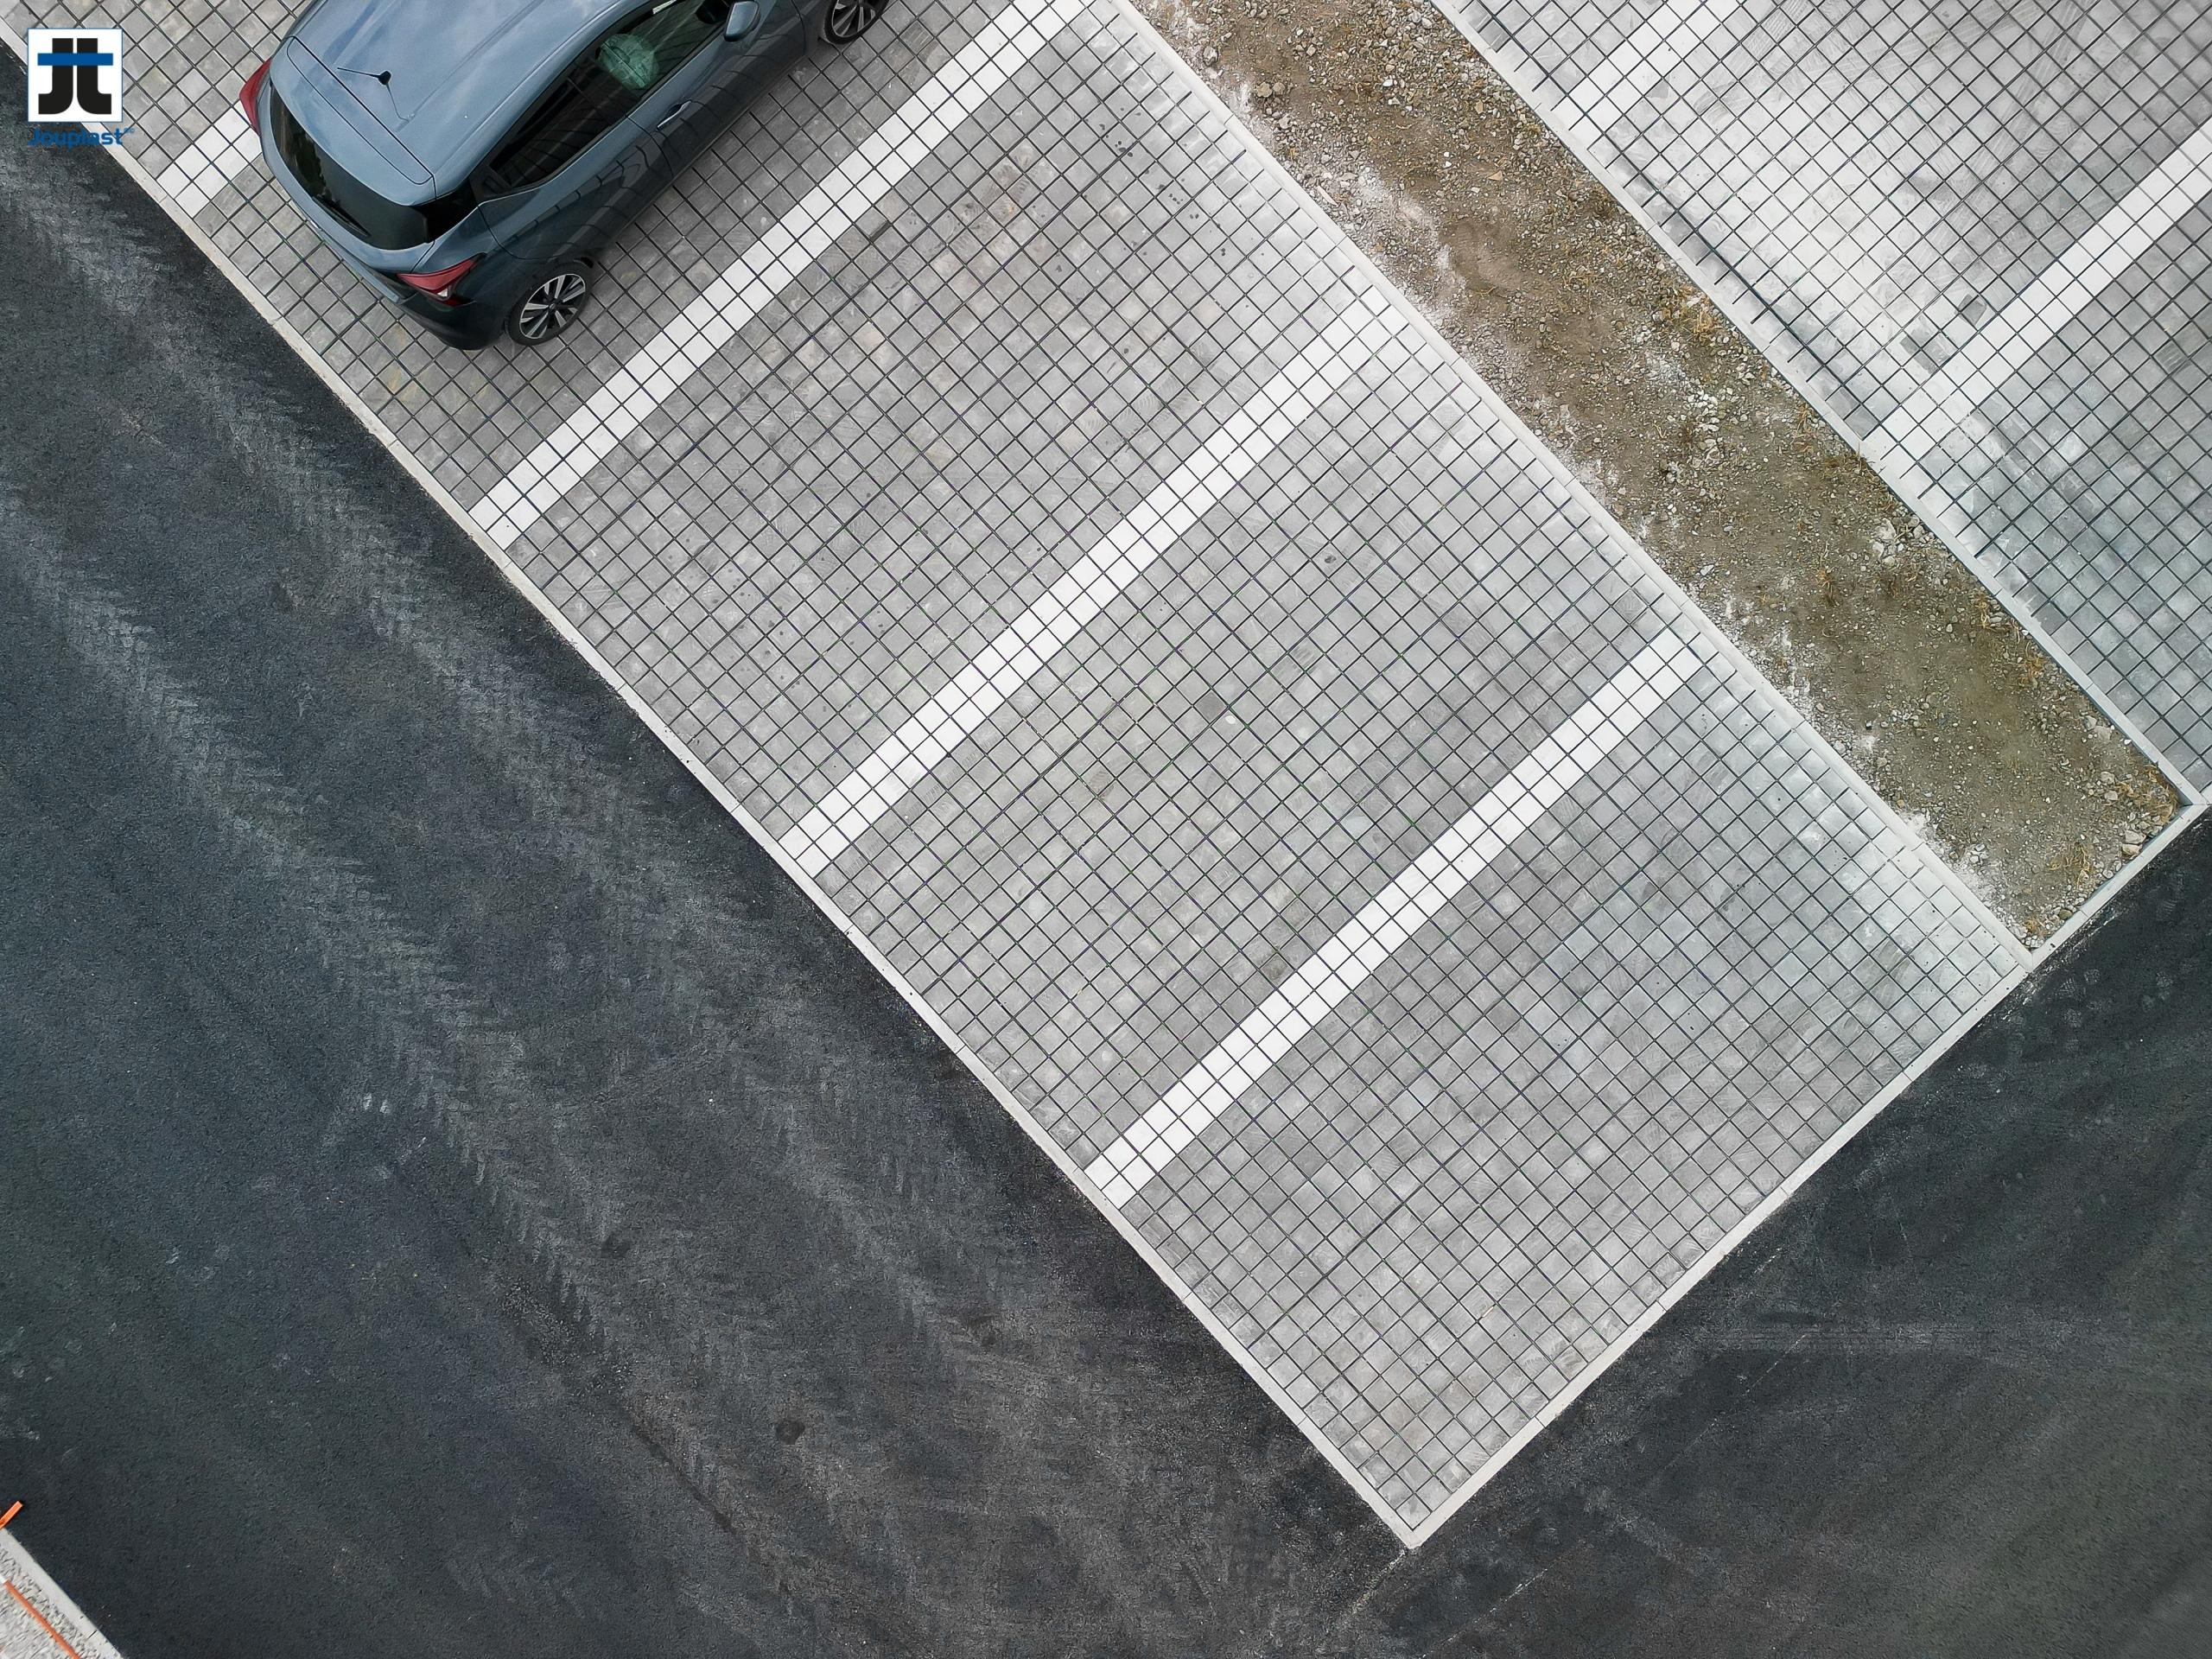
About driveways and parking spaces
We’ve put together the answers to the most frequently asked questions of our customers to help you better understand our innovative solutions for landscaping courtyards, parking lots and driveways. Whether you’re looking for information on materials, installation methods, maintenance or the benefits of our products, this section is here to guide you. Our aim is to offer you the best possible landscaping experience, combining durability, aesthetics and ease of use. Feel free to browse the various questions and answers to find all the information you need.
Gravel, paving stones, plants, everything you need to get creative!
1. What types of soil can Jouplast® stabilisation tiles be used on?
Depending on the nature of your soil and the desired use, 3 types of stabilisation are possible:
- Without foundation : this method is possible for covered projects on draining or load-bearing soils with a sufficient slope. It can also be used for temporary projects.
- With minimal foundations : this method is recommended for moderately draining and load-bearing soils.
- Conventional foundations : this method is recommended for impermeable soils with low bearing capacity.
If in doubt, ask a specialist to carry out a geological analysis (drainage and bearing capacity) of your soil.
2. Is the use of an aggregate stabilisation tile mandatory?
The use of an aggregate stabilisation tile is essential to avoid the ruts that appear when vehicles repeatedly drive past a garage, for example.
How much weight can Jouplast® stabilisation tiles support?
All our stabilisation tiles can withstand weights that are perfectly reasonable for traffic:
- Greenplac® resists up to 600T/m2 filled with gravel or grass.
- The entire URBANIT® range, designed for more intensive vehicle traffic, withstands up to 1000T/m2 filled with grass, gravel or paving stones.
- Urbangravel: Compressive strength filled with gravel: 800 T/m² (i.e. 40 full trucks).
- Alveplac: Compressive strength filled with gravel: 650T/m².
The mechanical strength of our stabilisation tiles is the fundamental criterion in our development process, in order to guarantee soil stability.
For more information, don’t hesitate to go to the ‘Documentation’ tab, which gives you access to all our technical data sheets, installation advice, etc. These resources can generally answer all your specific questions.
About JOUPLAST
Answers to your most frequently asked questions
1. Where are JOUPLAST products manufactured?
Jouplast® products are manufactured in Simandre-sur-Suran in the Ain department (01), France. We are committed to maintaining and promoting French know-how.
2. How can I get JOUPLAST products?
Whether you’re an individual or a professional, you’ll find our products at numerous distributors near you. To find your nearest dealer, consult our map.
3. How do I find a professional to carry out my work?
Our products are installed by many landscapers and public works companies. We invite you to contact one of these professionals for the installation of Jouplast® products. However, if you need any help or information, please contact your distributor.