
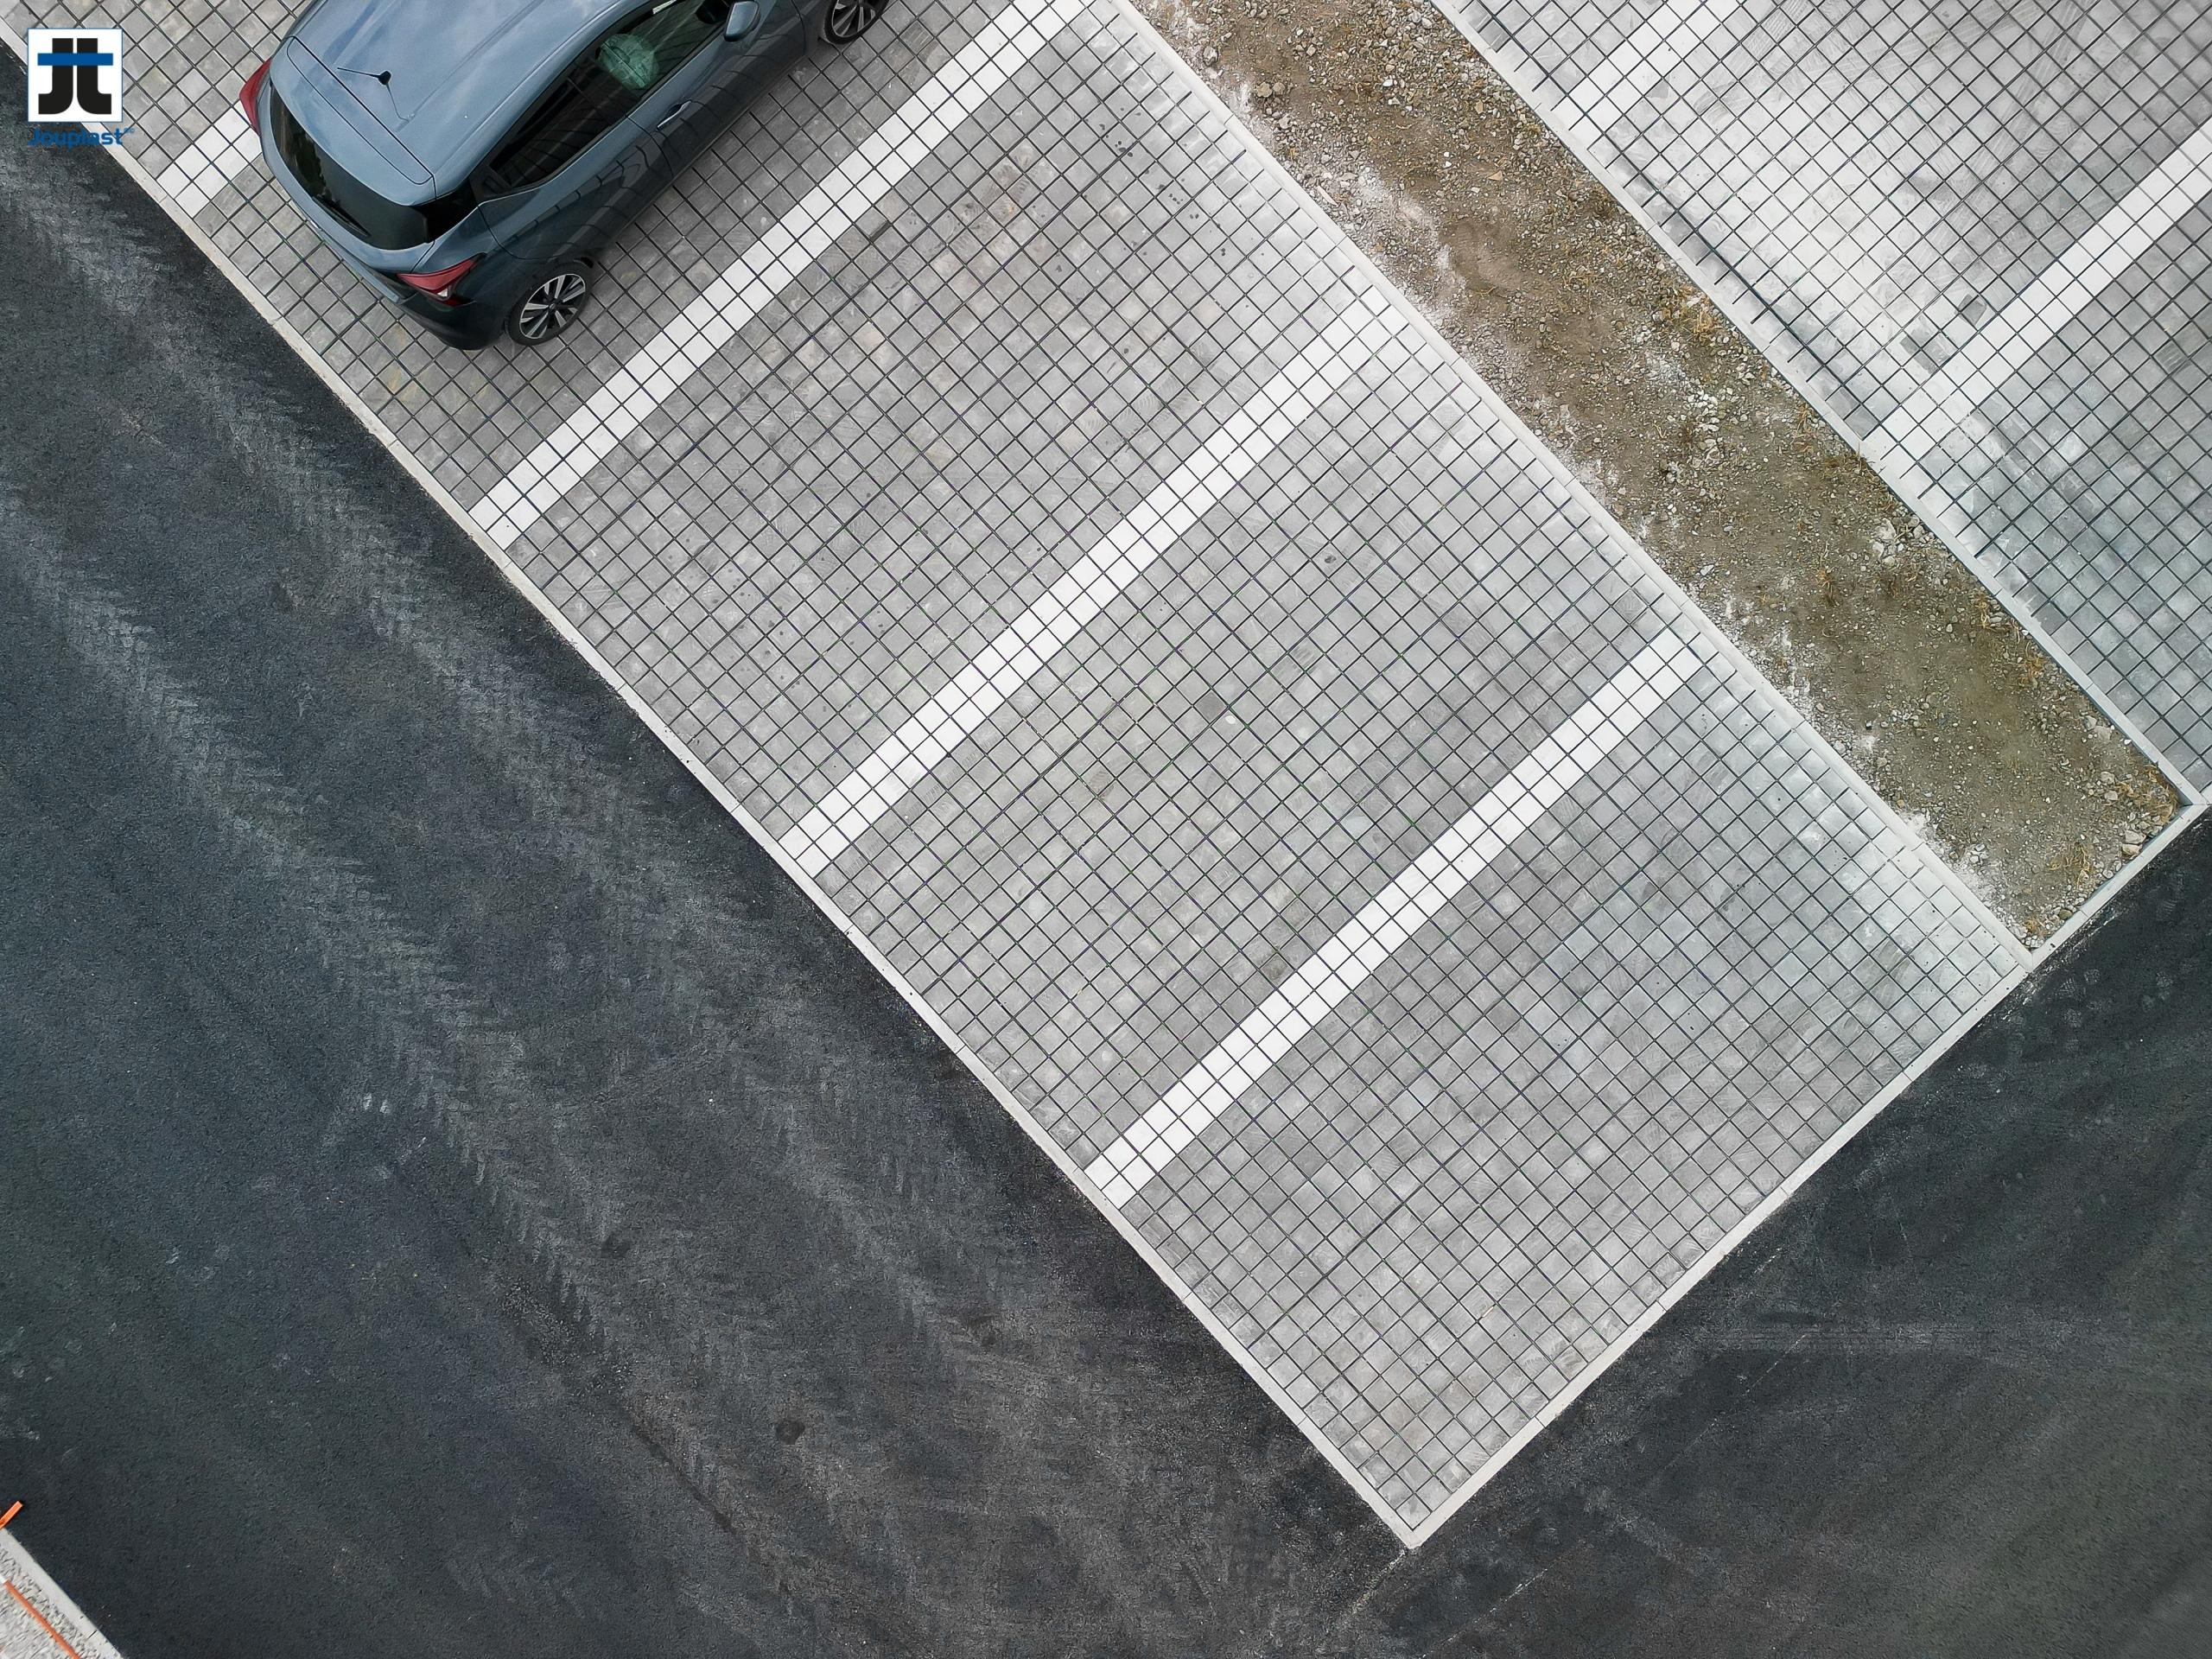

EASIO®: The New Range of Self-Leveling Pedestals That Simplifies Joist Installation
Jouplast® launches EASIO®, a new range of self-leveling pedestals designed for a simplified and rapid installation of joists.
In the context of adjustable wooden pedestal installation, it can sometimes be challenging for an installer or DIY enthusiast to complete all the steps alone.
Moreover, double joisting is often recommended in certain installation cases, particularly to facilitate water drainage and ensure compliance with DTU 51.4. Double joisting also allows for the installation of joists with a width of less than 60mm.
To address these challenges, Jouplast has designed the EASIO® range, a new generation of self-leveling pedestals for joists. With innovative design and features that simplify implementation, these pedestals offer time savings and increased precision during the installation of wooden and composite decks.
Discover in detail the EASIO® pedestals, their technical and practical advantages, as well as their various installation steps. In this article, we will also share the essential tools and our tips for optimal implementation.
A new generation of self-leveling pedestals for wooden and composite decks
Our EASIO® range of self-leveling pedestals for joists covers an adjustment range of 40 to 230mm in 4 pedestals. Made of recycled polypropylene, black in color with a green nut, they are UV and frost resistant.
We recommend using the EASIO® pedestal for wooden deck installation on sloped terrain up to 5% with struts and double joisting.
For simpler installation, we recommend choosing our Essentiel joist pedestals.
We recommend using the associated accessories with EASIO®, such as the joist protection tape, the EASIO® lateral finish to complete the deck edges, and the 60mm riser.
Advantages of EASIO® pedestals
EASIO self-leveling deck pedestals for joists offer numerous advantages, such as:
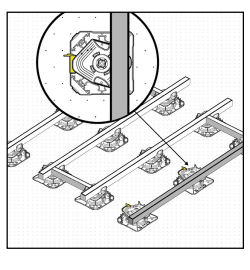
- Diamond-shaped pedestal head allowing for double joisting with a single row of pedestals and maintaining a strut before fixing.
- 2 support tabs allowing the installation and centering of joists with a width between 40 and 80 mm.
- Possible height pre-adjustment with the screw tip before the project starts.
- Possibility of using one or two screws in case of jointing.
- Double joisting with a 50 mm space.
- 2 integrated cladding supports on the flange.
- Monobloc pedestal for optimized stability.
- Square-shaped flange: easy corner installation.
- Self-leveling head for slope compensation up to 5%.
- Compliant with DTU 51.4.
- Patented system.
Installing joists with EASIO® pedestals
Installation steps
Installing joists with EASIO® pedestals is done in a few simple steps for quick and efficient implementation. Discover the key steps to successfully install your EASIO® self-leveling pedestals for joists.
1. Area Delimitation
Mark the location of the future deck.
It is important, even mandatory, to create a layout plan before starting the project to plan: installation direction, cuts, number of pedestals, lateral finish…
2. Ground preparation
Ensure the area is clean and the ground is stabilized.
Two scenarios:
On raw ground:
1. Excavate the soil of its loose topsoil to about 15 cm.
2. Install a geotextile.
3. Create a foundation layer composed of 0/31.5 crushed stone.
4. Compact using a vibrating plate.
Note: Depending on the nature of the terrain, a draining foundation can be created beforehand by laying a layer of 30/60 or 40/80 to better level the ground.
If the obtained surface still has some defects, it is recommended to create a leveling bed with quarry sand or crushed sand type 0/4. This will facilitate the installation of low-height pedestals.
It is recommended to use the vibrating plate between each layer to properly level the ground.
On concrete slab:
1. Remove any pollution (debris, stones…) that could hinder the installation and stable support of the pedestals. Check the available heights at thresholds.
2. Provide a minimum of 10 cm and an additional 1 cm if using FIXEGO®, invisible fixing.
3. Pedestal (min. 40 mm) + joist (min. 40 mm) + deck board (20 mm) = 10 cm
4. Ensure the slab is in good condition.
If the slab has a slope, or if the ground is uneven or irregular, the adjustable and monobloc EASIO® pedestal will compensate up to 5% thanks to its self-leveling head. Similarly, if the slab has roughness.
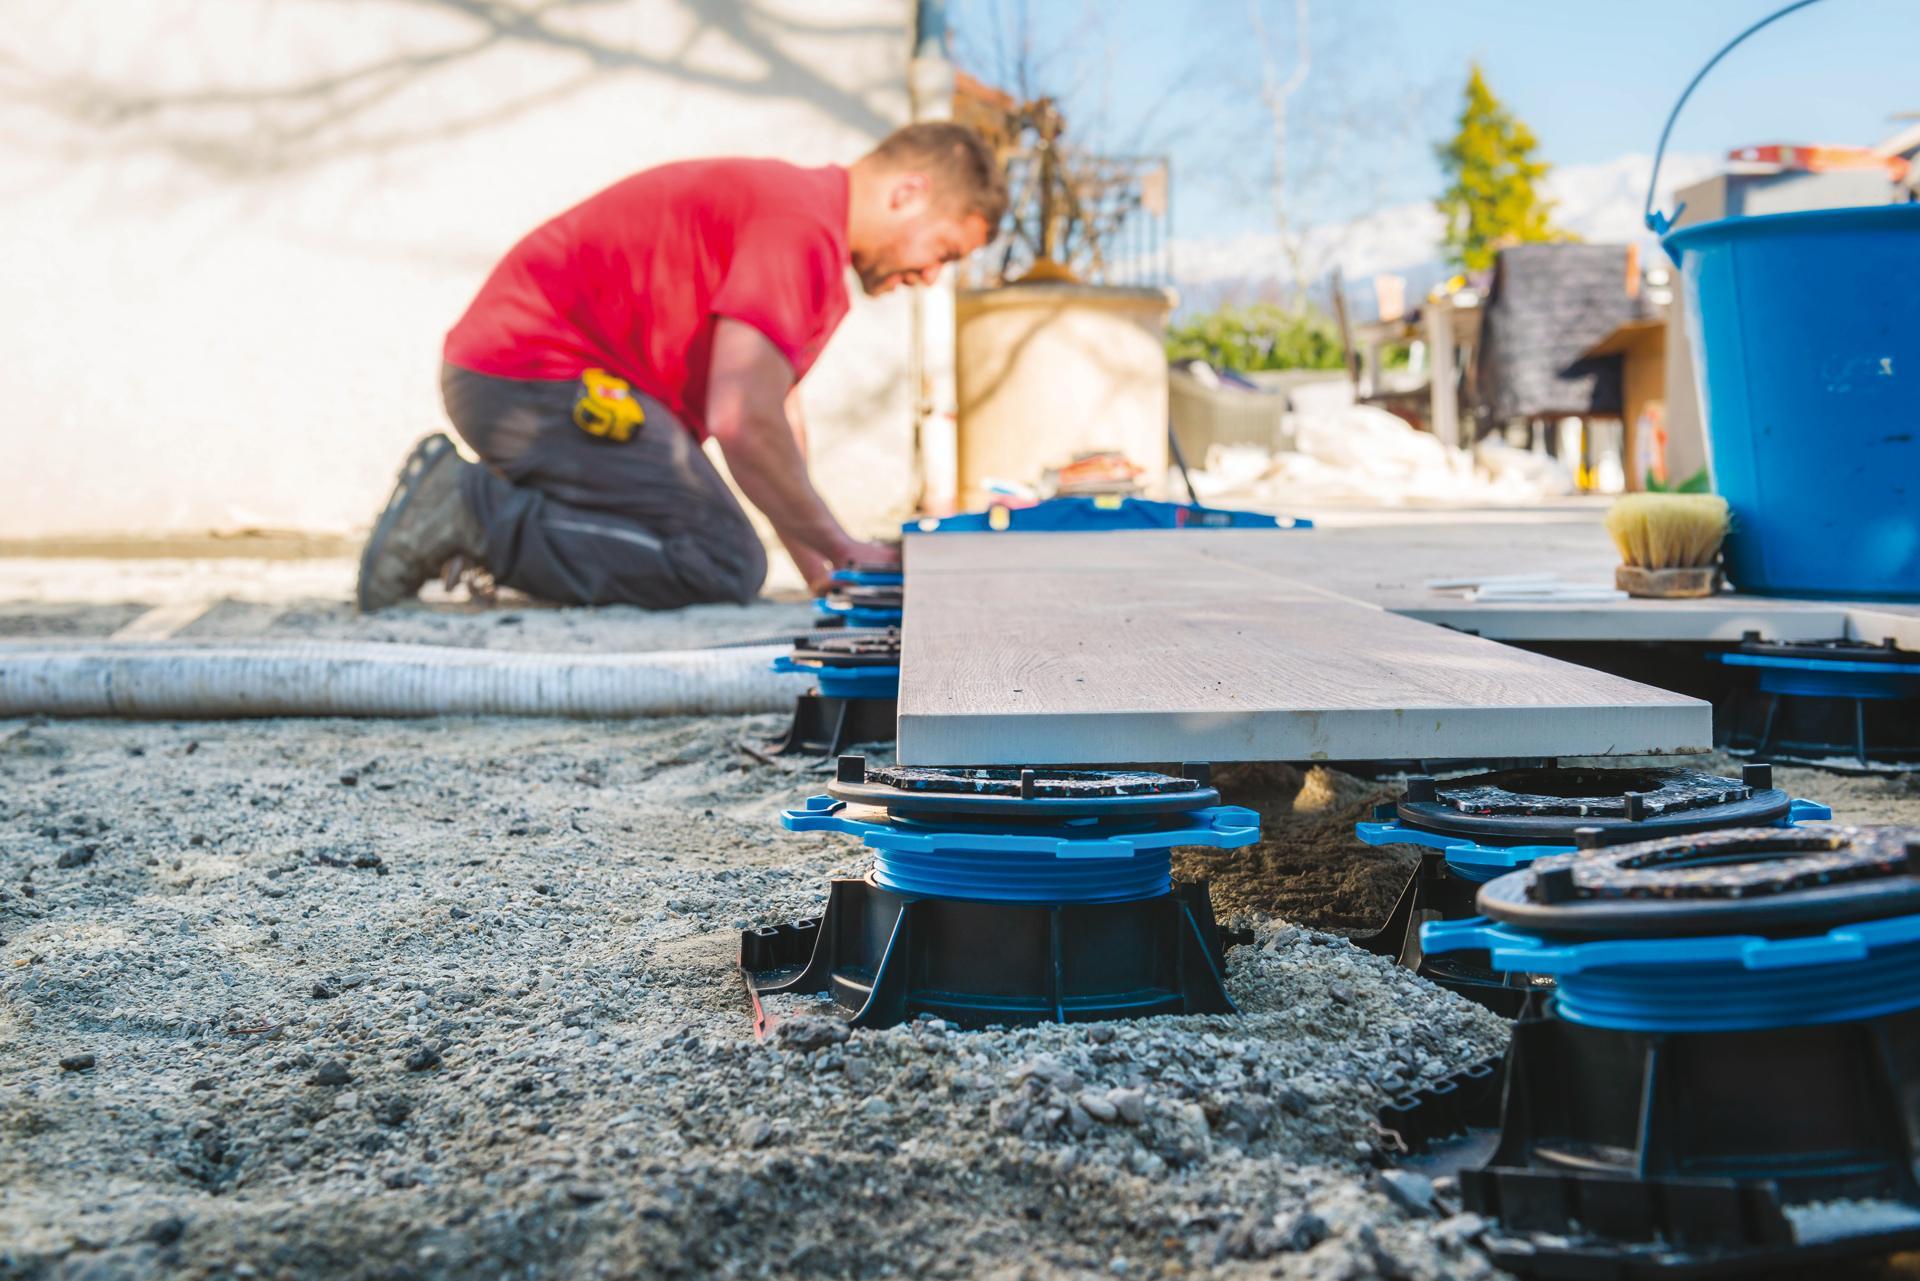
3. Pedestal Placement
- Position the pedestals directly on the ground, respecting the recommended spacings below
- 70 cm between each pedestal (depending on the wood species and joist section).
- 50 cm spacing between joists if installing natural wood boards.
- 40 cm spacing between joists if installing composite wood deck boards (check with the manufacturer).
- Place the joists on the pedestals previously adjusted to the same height. The adjustment tip can be used to facilitate pre-adjustment of the pedestals.
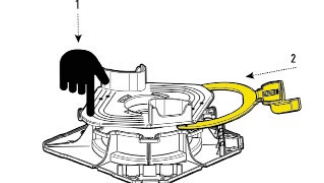
Note: To properly press the joists against the support tabs, turn the pedestal head counterclockwise.
Respect the installation recommendations of the wood or composite supplier according to the chosen deck covering.
For single joisting, we recommend installing struts to stiffen the entire structure and ensure a constant spacing between the joists. With the EASIO® self-leveling pedestal for joists, it is possible to position a strut on the pedestal head before fixing.
On the deck perimeter, we recommend offsetting the joist on the edge of the pedestal head (diagram opposite) and blocking the self-leveling head function using the EASIO® lateral finish piece (diagram below). This is to comply with DTU 51.4 and prevent deformations at the end of the board.
Regarding the number of pedestals per m², here is the explanatory document below.

4. Pedestal Installation and Adjustment
Turn the nut by hand to adjust the pedestal height to the desired level. Start with the pedestals at the ends, check the level, then adjust the intermediate pedestals.
5. Joist Fixing
Through the provided support tab, fix the joist to the pedestal using a screw.
6. Structure Protection
Stick the protection tape of your choice on the joists to protect them from rainwater runoff. Cover the edges of the joist well.
According to DTU 51.4 recommendations, it is advisable to protect the upper face of the joist with an overhanging bituminous tape that allows for capping.
7. Deck Board Installation
- Leave a 5 mm gap between the wall and the start of the deck.
- Then respect a minimum gap of 5 mm between each board, using a spacer (the gap may vary depending on the humidity level).
- Fix the deck boards using:
- either through screws,
- or invisible FIXEGO® fixings (product available in the Jouplast® range),
- or the clips provided with the composite wood boards.
Note: Screw at least 15 mm from the edge of the board. At the end of the board, screw 17 mm from the end.
According to the recommendations of DTU 51.4:
- The choice of deck boards promotes the longevity of the deck.
- Pre-drilling is recommended. If the width of the joist does not allow you to maintain the 17 mm, it is recommended to perform double joisting.
- Proper ventilation of the structure is essential. A flat shim of at least 3 mm can be placed between each board and joist (we recommend using a 5 mm flat shim). If the deck boards are fixed using FIXEGO® invisible fixings, it is not necessary to use a ventilation shim. Position the shims as you install the boards.
- Double joisting at the board joints is recommended to facilitate water drainage. Thanks to the specific head of the EASIO® pedestal, double joisting can be done on a single row of pedestals.
Necessary Tools and Practical Tips
The necessary tools for building a wooden deck with quick installation:
- A screwdriver
- A spirit level
- A saw (jigsaw, miter saw, or circular saw)
- Wood drill bit with stop
- Stainless steel screws (at least A2 type, countersunk head)
The following tools can also be used:
- Mason’s rule
- Chalk line
- Joist hanger or bracket for securing the deck to the wall
- Vibrating plate to stabilize the ground preparation before installation
- Stainless steel fasteners
Safety first! Wearing safety glasses and protective gloves is recommended.
CONCLUSION:
The EASIO® self-leveling pedestal for joists offers several advantages for professional and durable installation, in compliance with the recommendations of DTU 51.4. We encourage you to test it, especially in the case of double joisting. Before any adjustable pedestal installation, we recommend proper ground preparation and grading.


